Brook Custom Tamar Guitar Project In Blender Cycles
I had decided to attempt to model my Brook Tamar guitar using Blender Cycles. This is my first attempt and it has been a great learning curve for me and very enjoyable,frustrating and great fun indeed. Of course I would have done things a little differently and taken a slightly different approach the next time around. But overall I am quite pleased with the outcome. Below are some screenshots of the modelling process as I progressed through the different stages of the modelling process.
In Hindsight
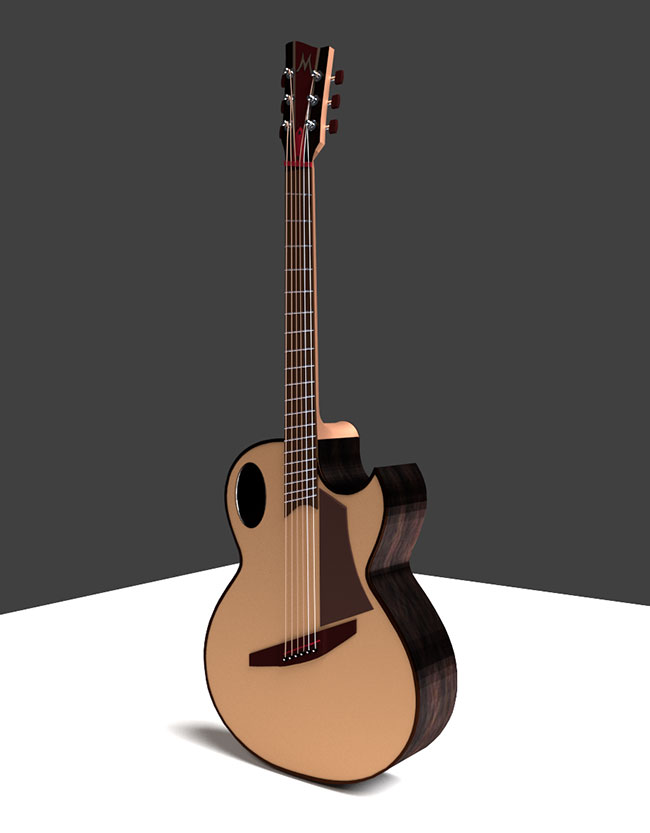
My first modelling attempt at a guitar was the choice of my second custom handmade Brook Tamar guitar which was probably not the easiest of the two that I have to model, especially for the fact that it is not symmetrical and has a cutaway with the sound hole that is offset and oval, unlike my 1st Brook guitar which is symmetrical and the sound hole is bang in the center and also circular to boot.
Problems with smooth Shading
Because of the way that I had approached modelling the main body section I came in to real problems with smooth shading of the subject. Of course I wanted to achieve smooth curves at the sides but a flat surface for the front. But after adding a sub surface modifier or smooth shading in different scenarios, in the render I was getting distortion in places that I did not want it. I looked at many articles and read many forums to find a solution to my problem but nothing that I did worked for me. It was because I had triangular meshes in places which caused flat surfaces to render strangely after applying a modifier.
Solution
There is probably a simple solution to the problem that I was getting but I never really solved it with the way that I had set out to model this guitar. After some thought I had come to the conclusion that one way might be to completely separate the sides from the front and just position them in the right place. This solution at least worked for me on my second modelling attempt of my 1st Brook Guitar. (Which I will also feature an article about in the near future.) After adding a subsurface modifier and smoothing technique to the side panels I was able to achieve the finished look that i was looking for without the possibility of causing problems to the surfaces of the front and rear panels on the guitar. I would be interested to know if any one has any ideas of ways to approach this in a different way that I did that would be able to achieve a good end result?
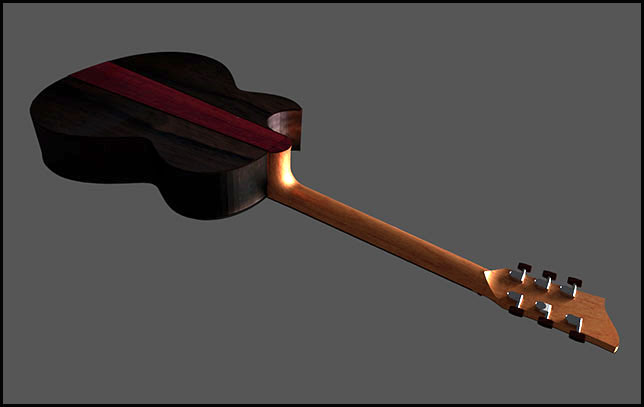
Surface Materials
Being a layman and quite new to using Blender I approached this stage by using trial and error tactics. Basically I got my textures by taking photos of the wood textures and by using Photoshop to adjust the colors I was able to apply them to the surfaces using the UV image editor in Blender Cycles. Again I still have a lot to learn about this procedure but I was fairly pleased with the final result.
Future Projects
My next project will be an attempt at animating with these models using the Blender software. Please bookmark this site or register with us for the latest articles.
Below are images of the Blender project at various stages of the modelling. Click on a thumbnail to view the gallery.


